

| General Usage | ||
|---|---|---|
|
|
|
|
| Installing | Import src.rpm | |
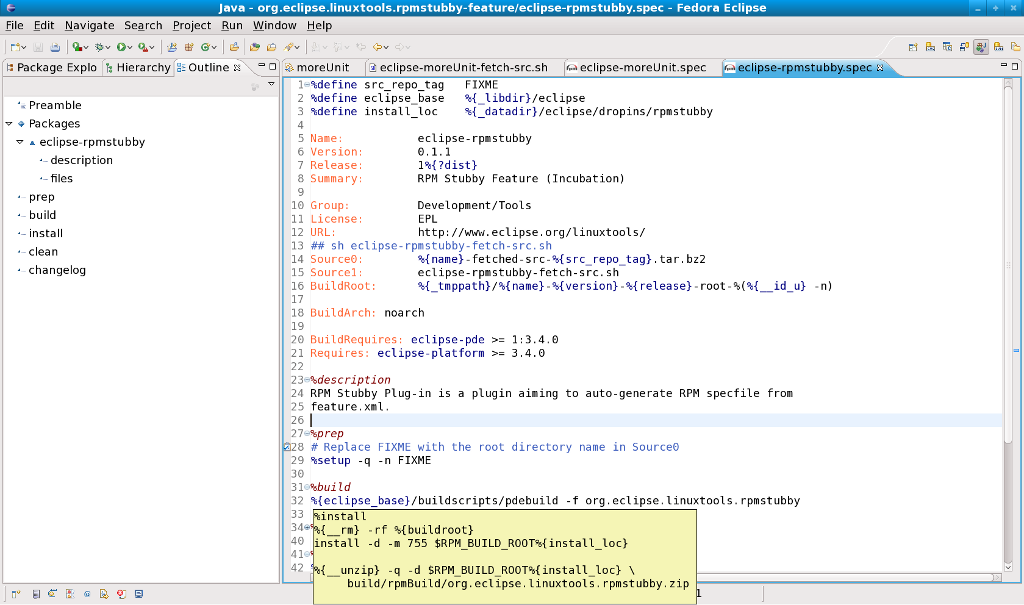
To fully benefit from all the features offered by the Specfile Editor, ensure that your
.spec file is part of a project inside the Eclipse workspace. rpmlint integration, file hyperlinks, and some auto-completion features are not available otherwise. The following screenshot provides an impression of the full interface benefits provided by the Specfile Editor plug-in:
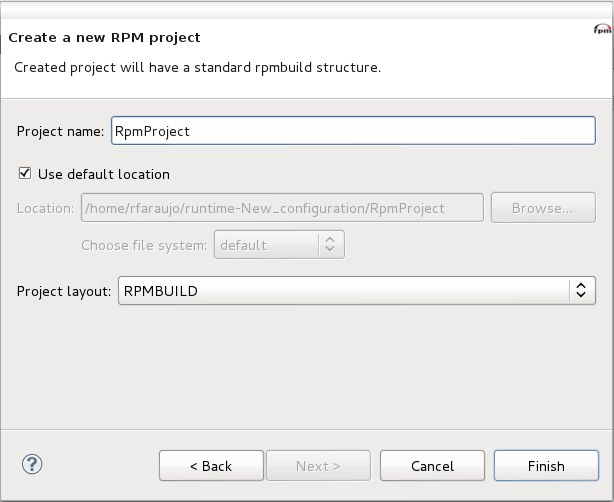
To create a RPM Project, user must go to File > New > Other, expand RPM and select RPM Project. In the next window, it is necessary to select the project name and the layout to be used. RPMBUILD layout means that the directory layout of BUILD, RPMS, SOURCES, SPECS and SRPMS is going to be used. FLAT layout means that all files will be kept inside the main project directory.
It is possible to use the default file system or create a RPM project remotely. To create the remote project, user must clear the Use default location check box and select RSE or RemoteTools. The Browse button can be used to find the location of where the project is to be stored on the remote server.
The Specfile Editor plug-in provides a wizard for creating new
.spec files. To use this wizard, navigate first to File > New > Other... ; then, expand the RPM Wizards entry to select New specfile based on a template.
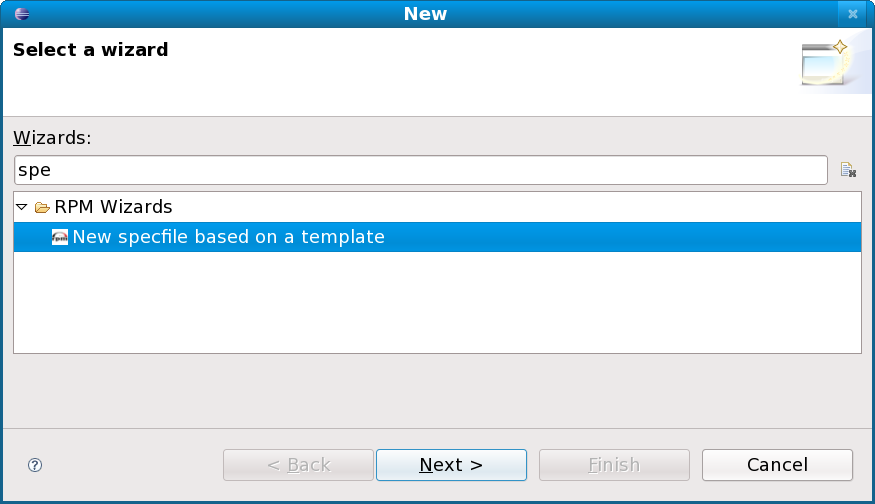
This will open the Specfile Creation wizard, which provides an interface for generating the basic contents of a
.spec file.
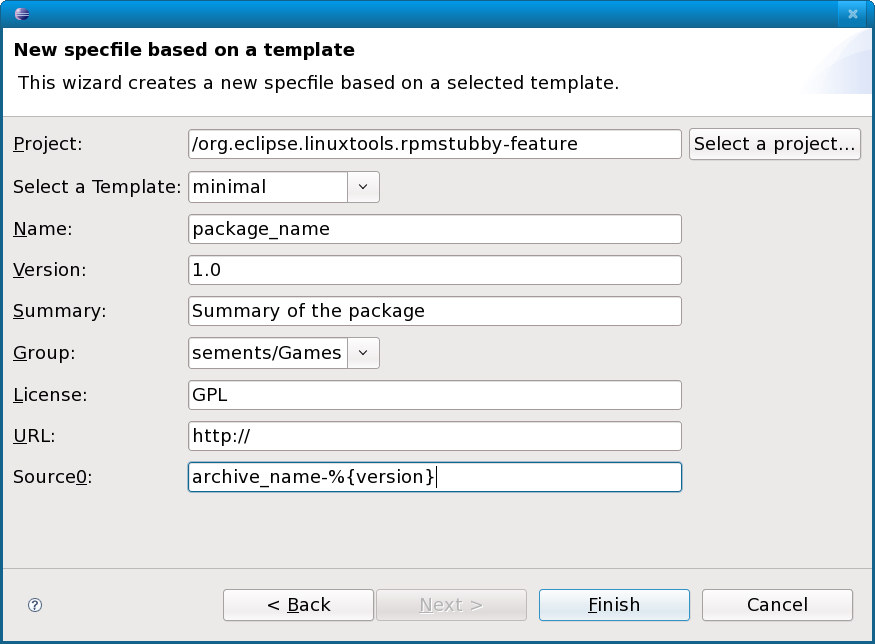
The Specfile Creation wizard contains the following fields:
.spec with a project in the current workspace, which ultimately specifies where the
.spec will be saved. The
Select a project...
button allows you to select a specific project for this field with ease. By default, the Specfile Editor plug-in specifies the last active project when you invoked the Specfile Creation wizard.
.spec template to use. You can install templates provided by rpmdevtools, which is available
https://fedorahosted.org/rpmdevtools .
Version: line of the
.spec file.
Summary: line of the
.spec file.
License: line of the
.spec file.
URL: line of the
.spec file, which typically specifies the public home page of the project.
To build RPMs, right-click on the RPM project or the Specfile Editor. Then, select RPM menu item from the context menu. You will be given a list of build options for the
.spec file, as well as other Specfile options.
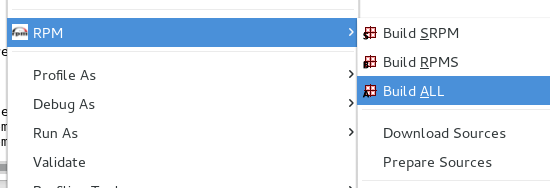
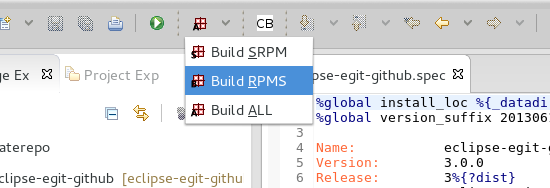
These build options are also readily available on the toolbar menu for quicker access.
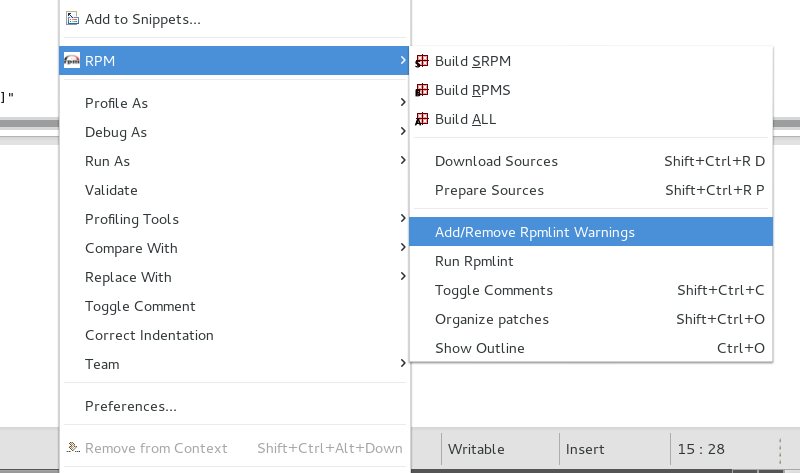
To enable rpmlint warnings, right-click on the project containing the
.spec file. Then, select the RPM menu item. Then, Add/Remove rpmlint warnings from the context menu. You can use this menu selection to disable rpmlint warnings as well.
Enabling rpmlint warnings will add a new rpmlint builder to the project. This rpmlint builder checks the
.spec file during each project build or clean. Afterwards, the builder displays any appropriate warnings and errors in the
Problems
pane. Each warning/error is plotted in the
.spec file as well; clicking an rpmlint warning/error in the
Problems
pane will automatically place the insertion point on the corresponding section in the
.spec file.

You can also directly resolve several warnings and errors through the Quick Fix menu. To access this menu, right-click on a warning or error from the Problems pane and select Quick Fix.
As the name suggests, the
Quick Fix
menu provides you with quick solutions to common
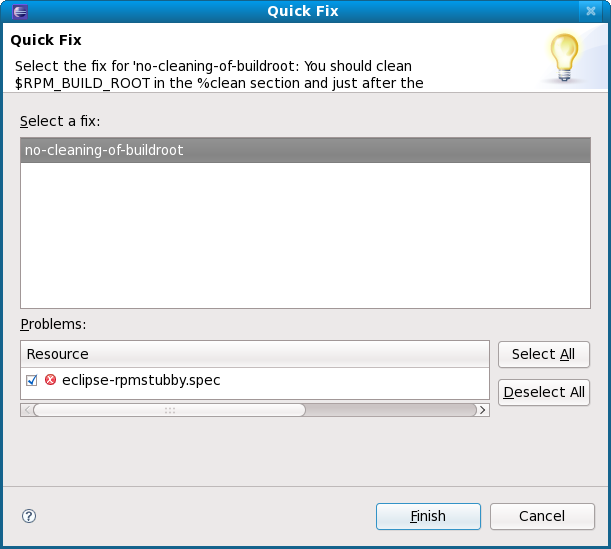
.spec file errors and problems. For example, rpmlint detected a no-cleaning-of-buildroot error in the following %install section from the .spec file:

If the Quick Fix menu can provide a solution for a particular error, it will be available in the menu. To apply it, simply select the solution (from the Select a fix: area) and the corresponding problem (from the Problems: area), then click the Finish button.
The following screenshot shows the revisions to the %install section applied by the
Quick Fix
menu:

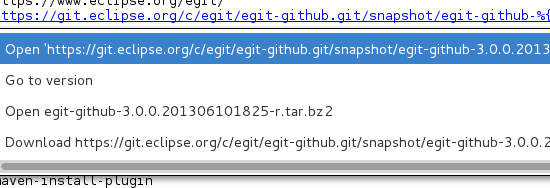
A common feature in most eclipse plugins is the ability to detect hyperlinks and to provide options for the user to handle the clicking of the hyperlink.
The SpecfileEditor handles the hyperlinks, often located in the
SOURCE and
PATCH defines, differently than regular hyperlinks.
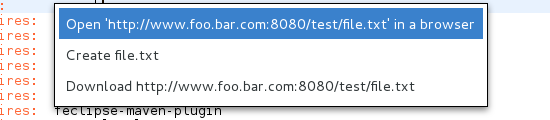
As shown below you are given the options to:
In addition to these, if the user also happens to hover above a macro (e.g.
%{name} or
%{version}), it would show a "Go to ..." option to jump to where the macro is defined, if located in the
.spec file.
Patches are also considered hyperlinks in the SpecfileEditor. Based on the link itself, patch options could show a combination of the following options:
|
|

|
|
| Installing | Import src.rpm |