Creating a project
You can create a standard make or managed make C or C++ project.
To create a project:
- Click File > New > Project.
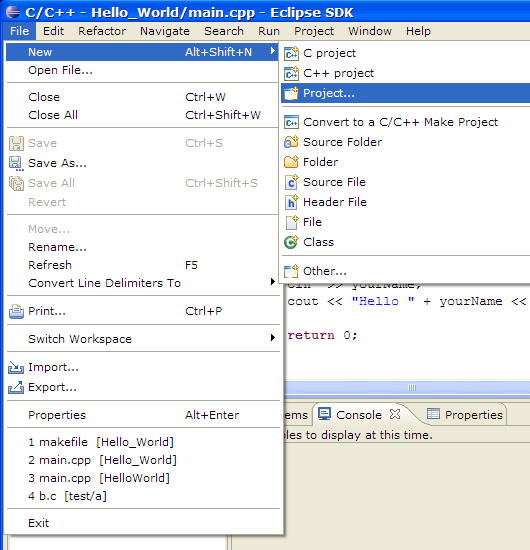
- In the New Project wizard, open C or C++ folder and select corresponding project.
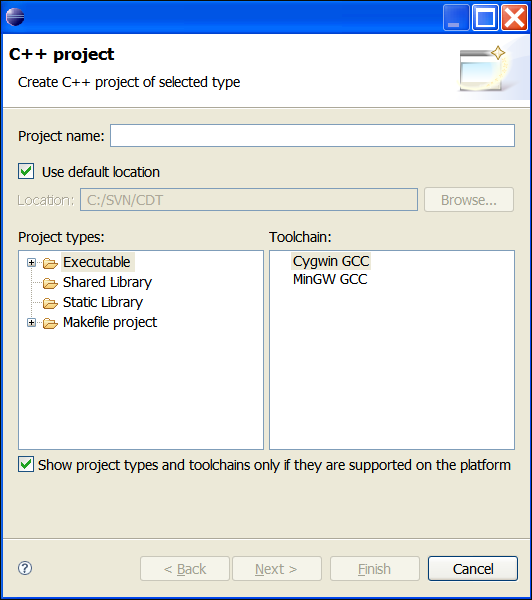
- Click Next.
- In the Project Name box, type a name.
- To specify a different directory in which to save your project, clear the Use Default Location check box, and enter the path in the Location box.
- Select Project type on the left pane. For more information, see Selecting a project type.
- Select one or more toolchains from the list on the right pane.
- You can change build configurations list for the project. To do it, press Next. But usually you need not to do it.
- To create your project, click Finish.
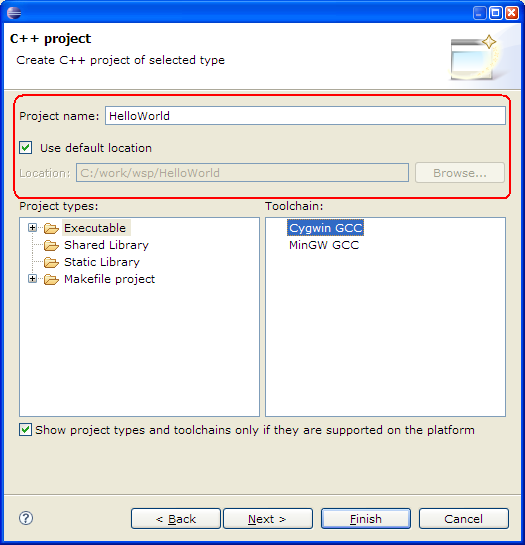
- If a message box prompts you to switch perspectives, click Yes.
- Define your project properties. For more information, see Defining project properties.
![]()
CDT Projects
Project file views
![]()
Working with C/C++ project files
Creating a project via a project template
