In our discussion of remote repositories so far, we've consistently used the "master" branch in examples. This approach works well when only one team is involved in a project. All team members can write to the "master" branch and use it to share their progress. However, when multiple teams are involved in a project, it's recommended to use Git's remote branch feature for team collaboration. A remote branch is simply any branch on a remote server that all team members can access. By creating and using specific branches for each team's work, teams can share their progress on the remote server without disrupting the rest of the organization.
To create a remote branch from the command line, based on the current master branch, use the following Git commands:
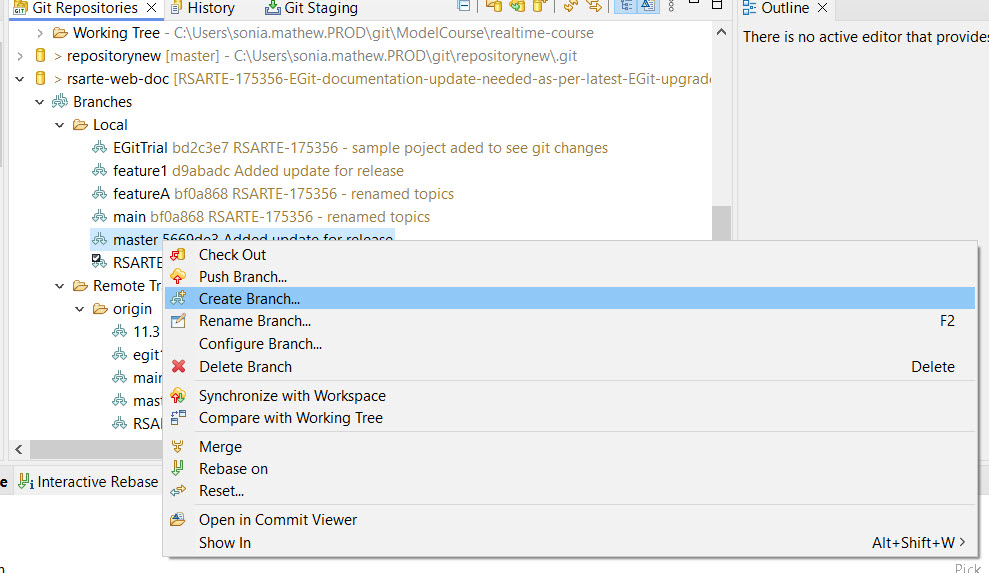
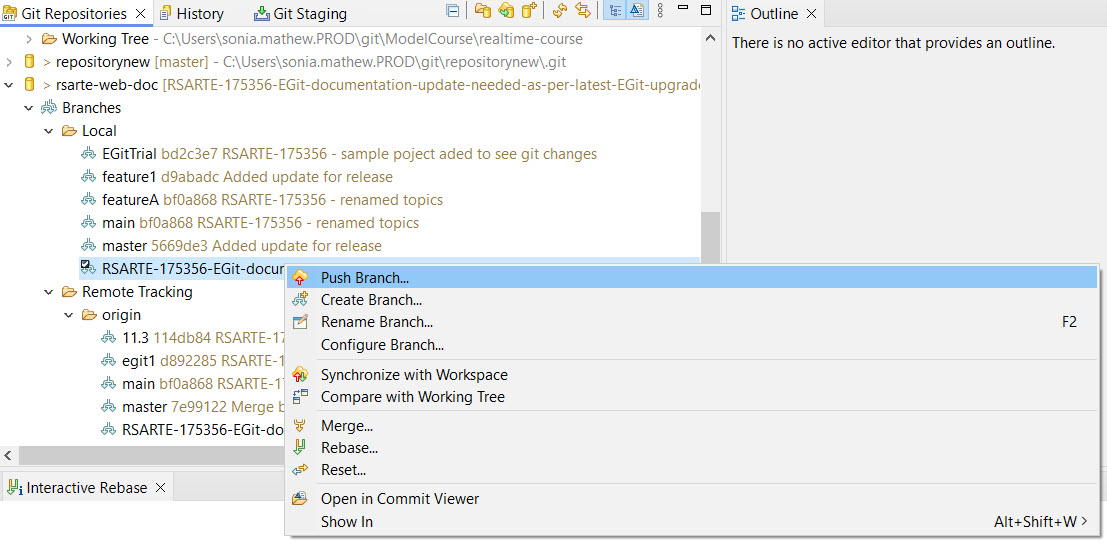
git checkout -b mybranch master to create the branch locally.git push -u origin HEAD:mybranch to push the newly created branch to the remote repository ("origin") and give it the same name as the local branch. The -u flag configures a remote tracking branch and sets up the upstream configuration automatically.You can also create a remote branch using EGit. Start by creating the branch as usual, such as by using the "Create Branch…" command in the Git Repositories view.

Be sure to select the checkbox "Configure upstream for push and pull" if you intend to use the Push and Pull commands. Then, push the new branch to the remote repository.

Fortunately, working with a remote team branch is very similar to working with the master branch, as described in Working with Remote Repositories. The process of configuring the remote tracking branch and upstream settings is the same, with the only difference being that you specify the team branch name instead of "master" in the relevant dialogs.
Once configured, you can use the Fetch, Pull, and Push commands to synchronize your local repository with the remote repository, allowing you to update your work and share changes with your team.