When you have created your CORBA model (see Creating a CORBA model), the next step is to invoke the UML-to-CORBA IDL transform for generating IDL files from it.
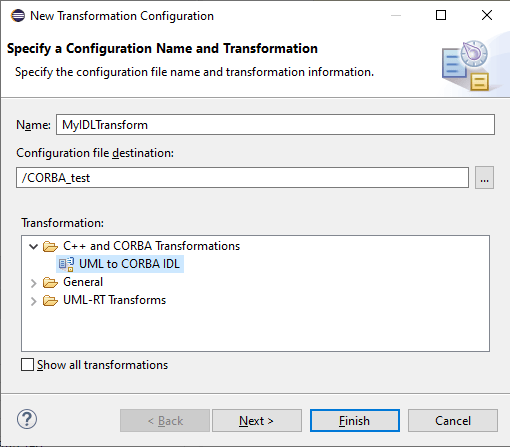
The transform needs a transformation configuration (TC) with properties that specify how to generate IDL from the model. To create such a TC perform these steps:
You can later edit the created TC by double-clicking on it in the Project Explorer.
To run the TC (i.e. to transform the model to IDL files) you can click the "Run UML to CORBA IDL" button in the toolbar of the TC editor.

Alternatively you can do it by selecting the TC in the Project Explorer and use either the Transform context menu or the Modeling - Transform menu in the menu bar.
When you run the TC it will first automatically be validated for correctness. You can also validate it manually using the Validate button in the TC editor toolbar, or from the same menus as where you can run the TC (see Run the Transformation Configuration).
Any validation errors that are detected are reported in the Problems view.
Note that when you validate the TC, only the properties of the TC are checked. It's also possible that the CORBA model contains errors which will be detected while running the TC. Such errors are reported in the Error view.
The IDL files that are generated from components in the CORBA model will by default have the same name as the components and will be placed in the root folder of the target project. You can use a mapping model to write the files with different names or at a different location.
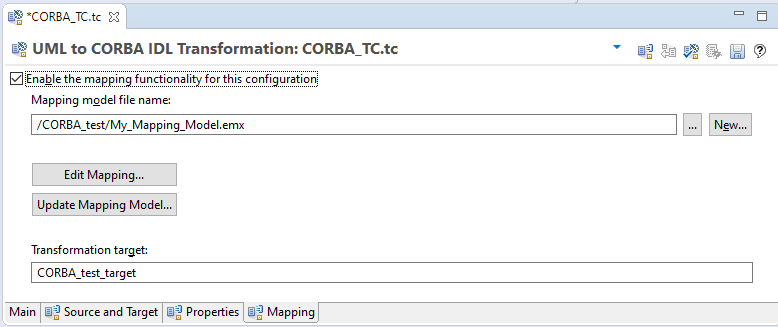
To create a mapping model, open the TC editor and click the Mapping tab. The mapping model is a regular UML model file (.emx) and you create it by pressing the New button. You can place the mapping model anywhere you like, but often it's logical to place it in the same project as contains your CORBA model.
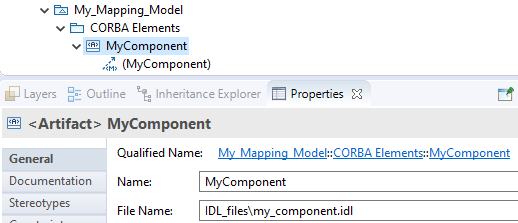
The created mapping model consists of artifacts with manifest dependencies to the elements of your CORBA model. By editing the 'File Name' property of these artifacts you can change the default names and locations of the generated IDL files. You can also change the default name of an IDL construct in the same way.
Here is an example of a mapping model where we have changed the location and name of the IDL file that is generated for the component 'MyComponent'.
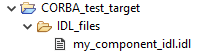
The resulting IDL file will be generated in an IDL_files subfolder of the target project.
When you are using a mapping model it may become obsolete when you later edit your CORBA model. You can then update the mapping model by pressing the button Update Mapping Model in the TC editor. A dialog appears that lets you decide how to update the mapping model.
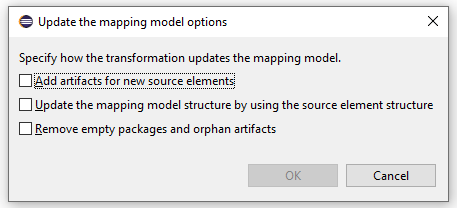
Mark these checkboxes depending on how you have edited the CORBA model since the last time the mapping model was updated: